Want to create a stylish, professional email signature in Outlook? Word can help you go beyond basic formatting and design something that stands out.
After creating your signature in Outlook, you have the option to edit it in Word to enhance it.
Step 1: Set Up a Basic Signature in Outlook
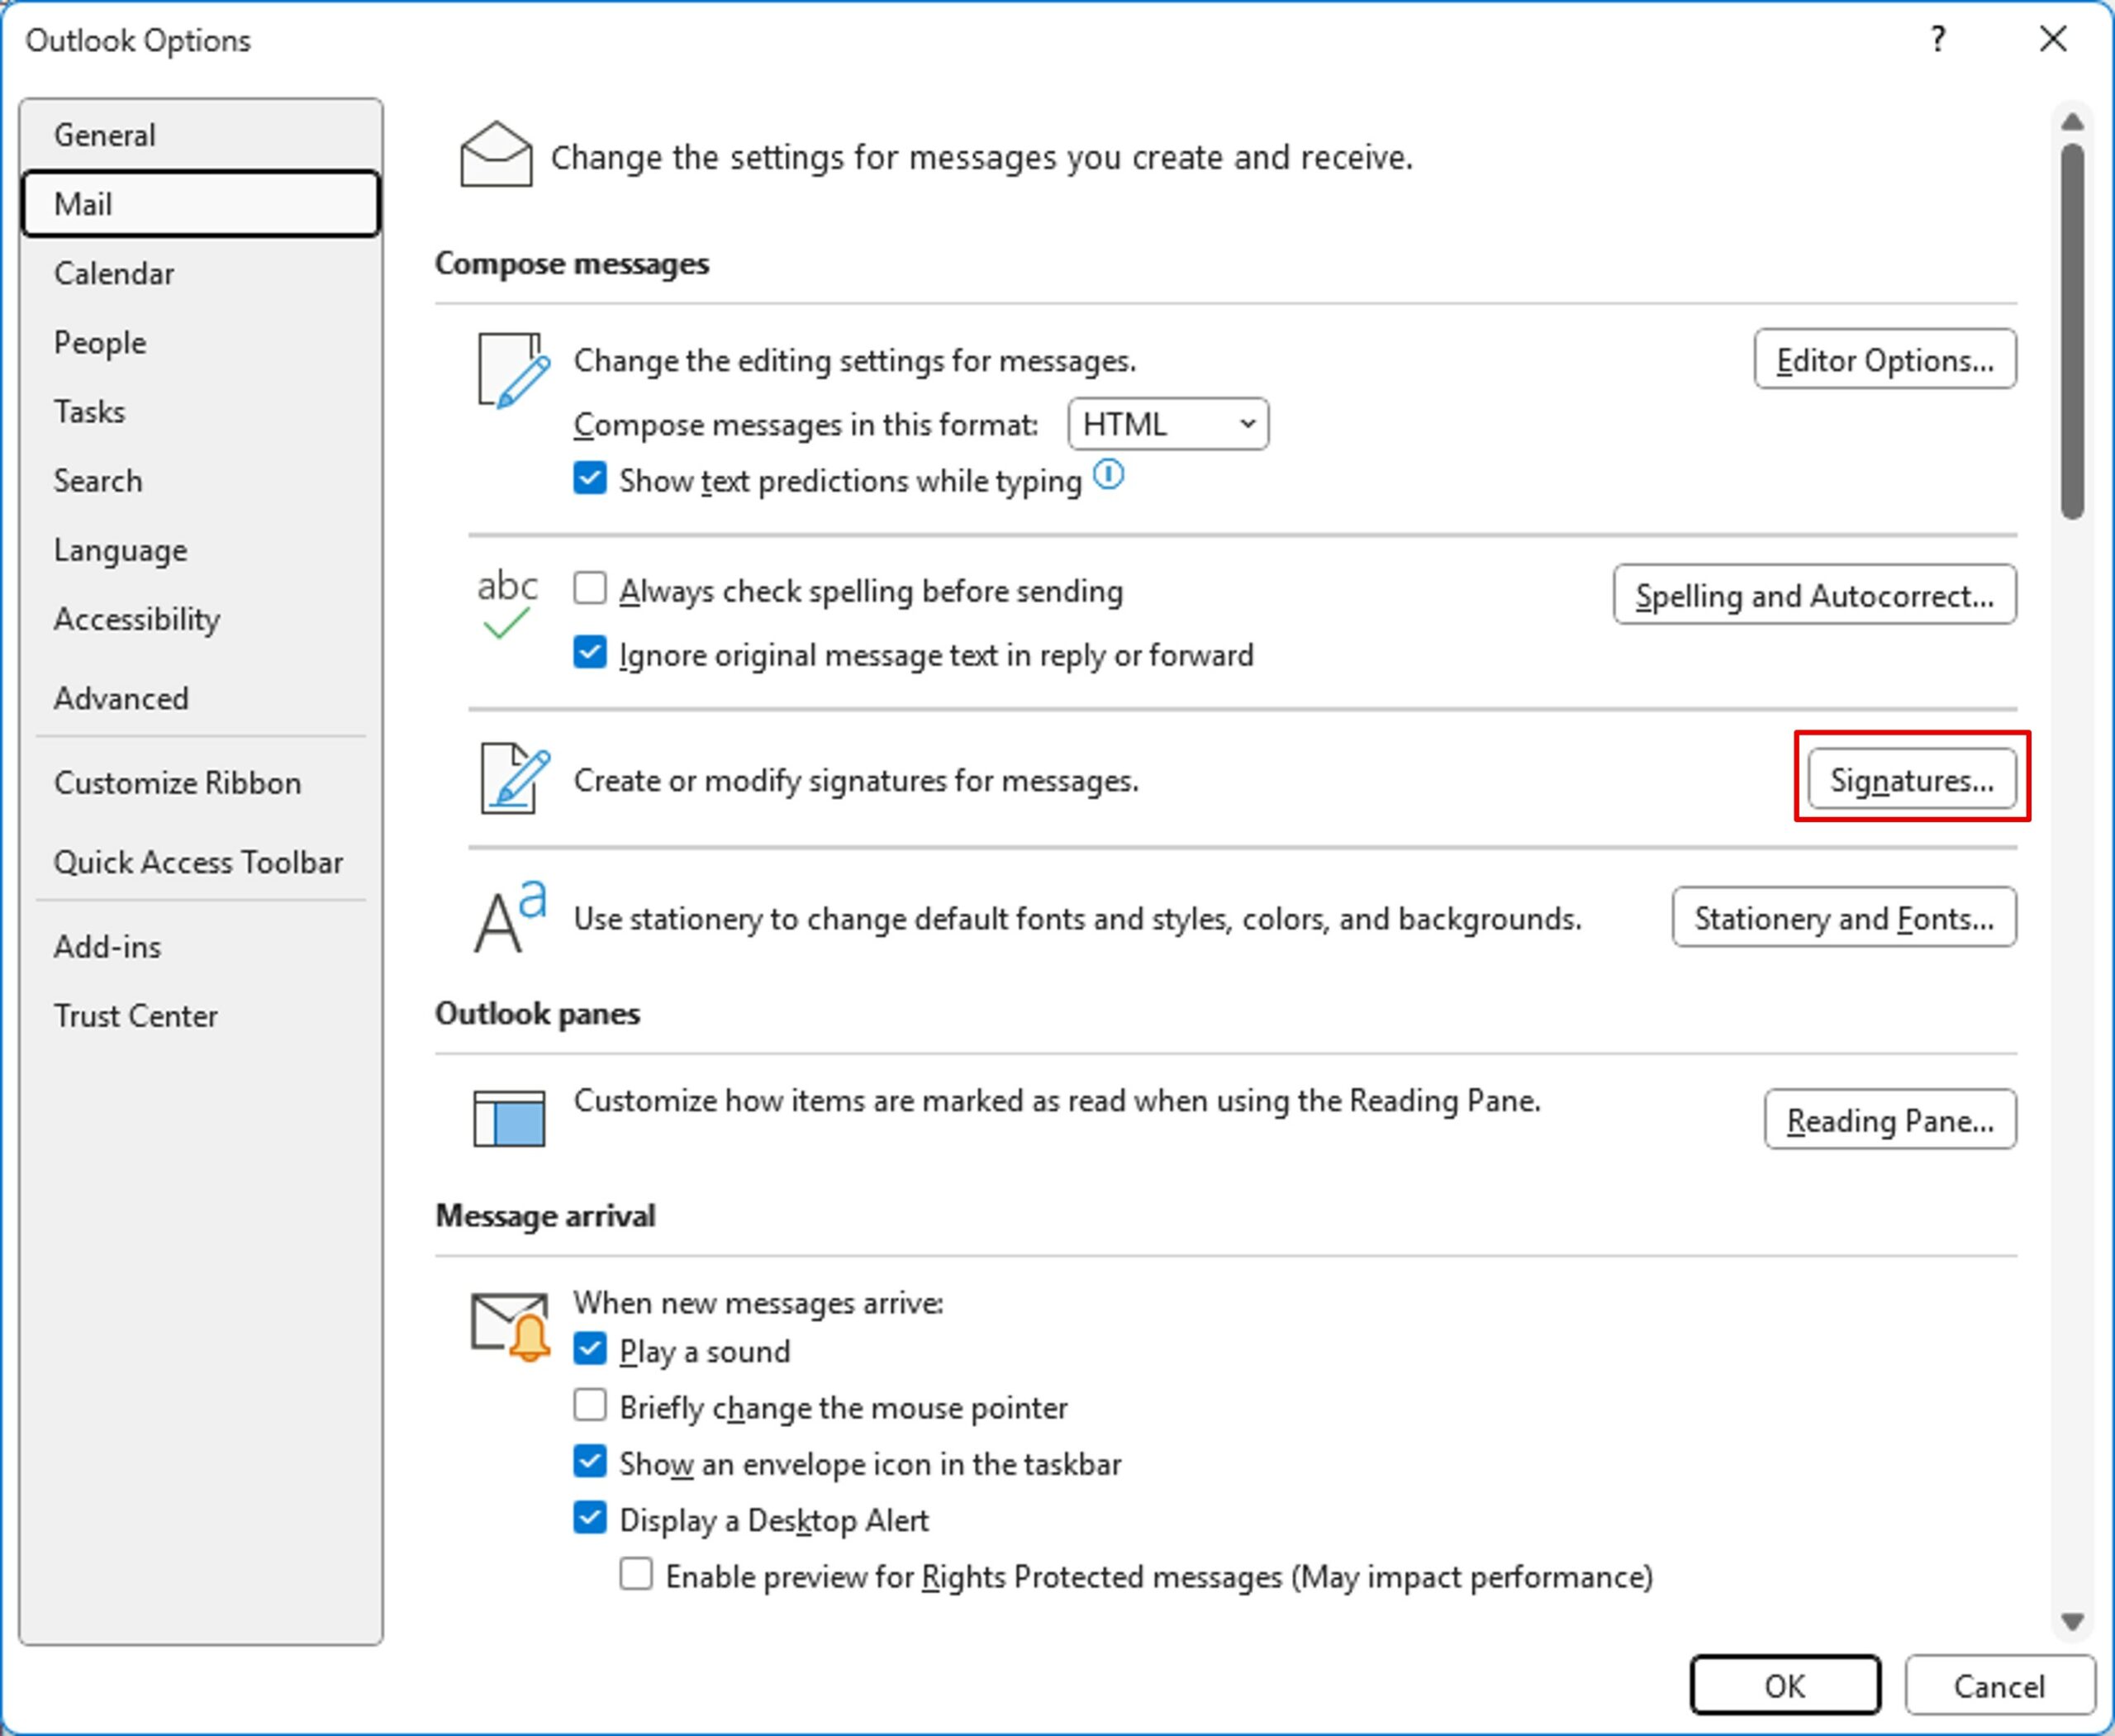
First, create a signature for your emails in Outlook. To do this, on the File menu, click Options. Then on the Mail menu, click Signatures.
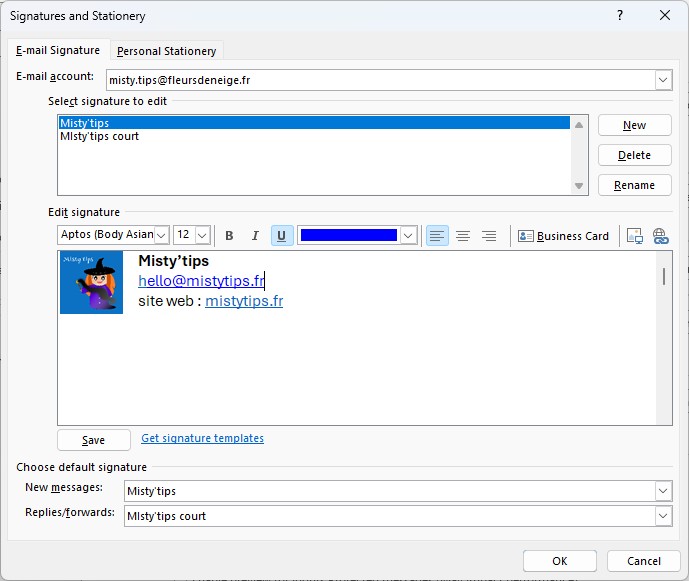
Create and save your signature.
This generates an .htm file you’ll edit next.
Step 2: Locate the Signature File on Your Compute
Two ways to find it:
Method A:
Open File Explorer and paste this path:
C:\Users\[YourUsername]\AppData\Roaming\Microsoft\Signatures (Enable hidden items if needed)
If you don‘t see the AppData folder, show the hidden items.
Method B:
In Outlook, press CTRL while clicking Signatures in your Mail Options—it opens the correct folder directly.
CTRL + CLIC on Signatures
Step 3: Edit the Signature Using Word
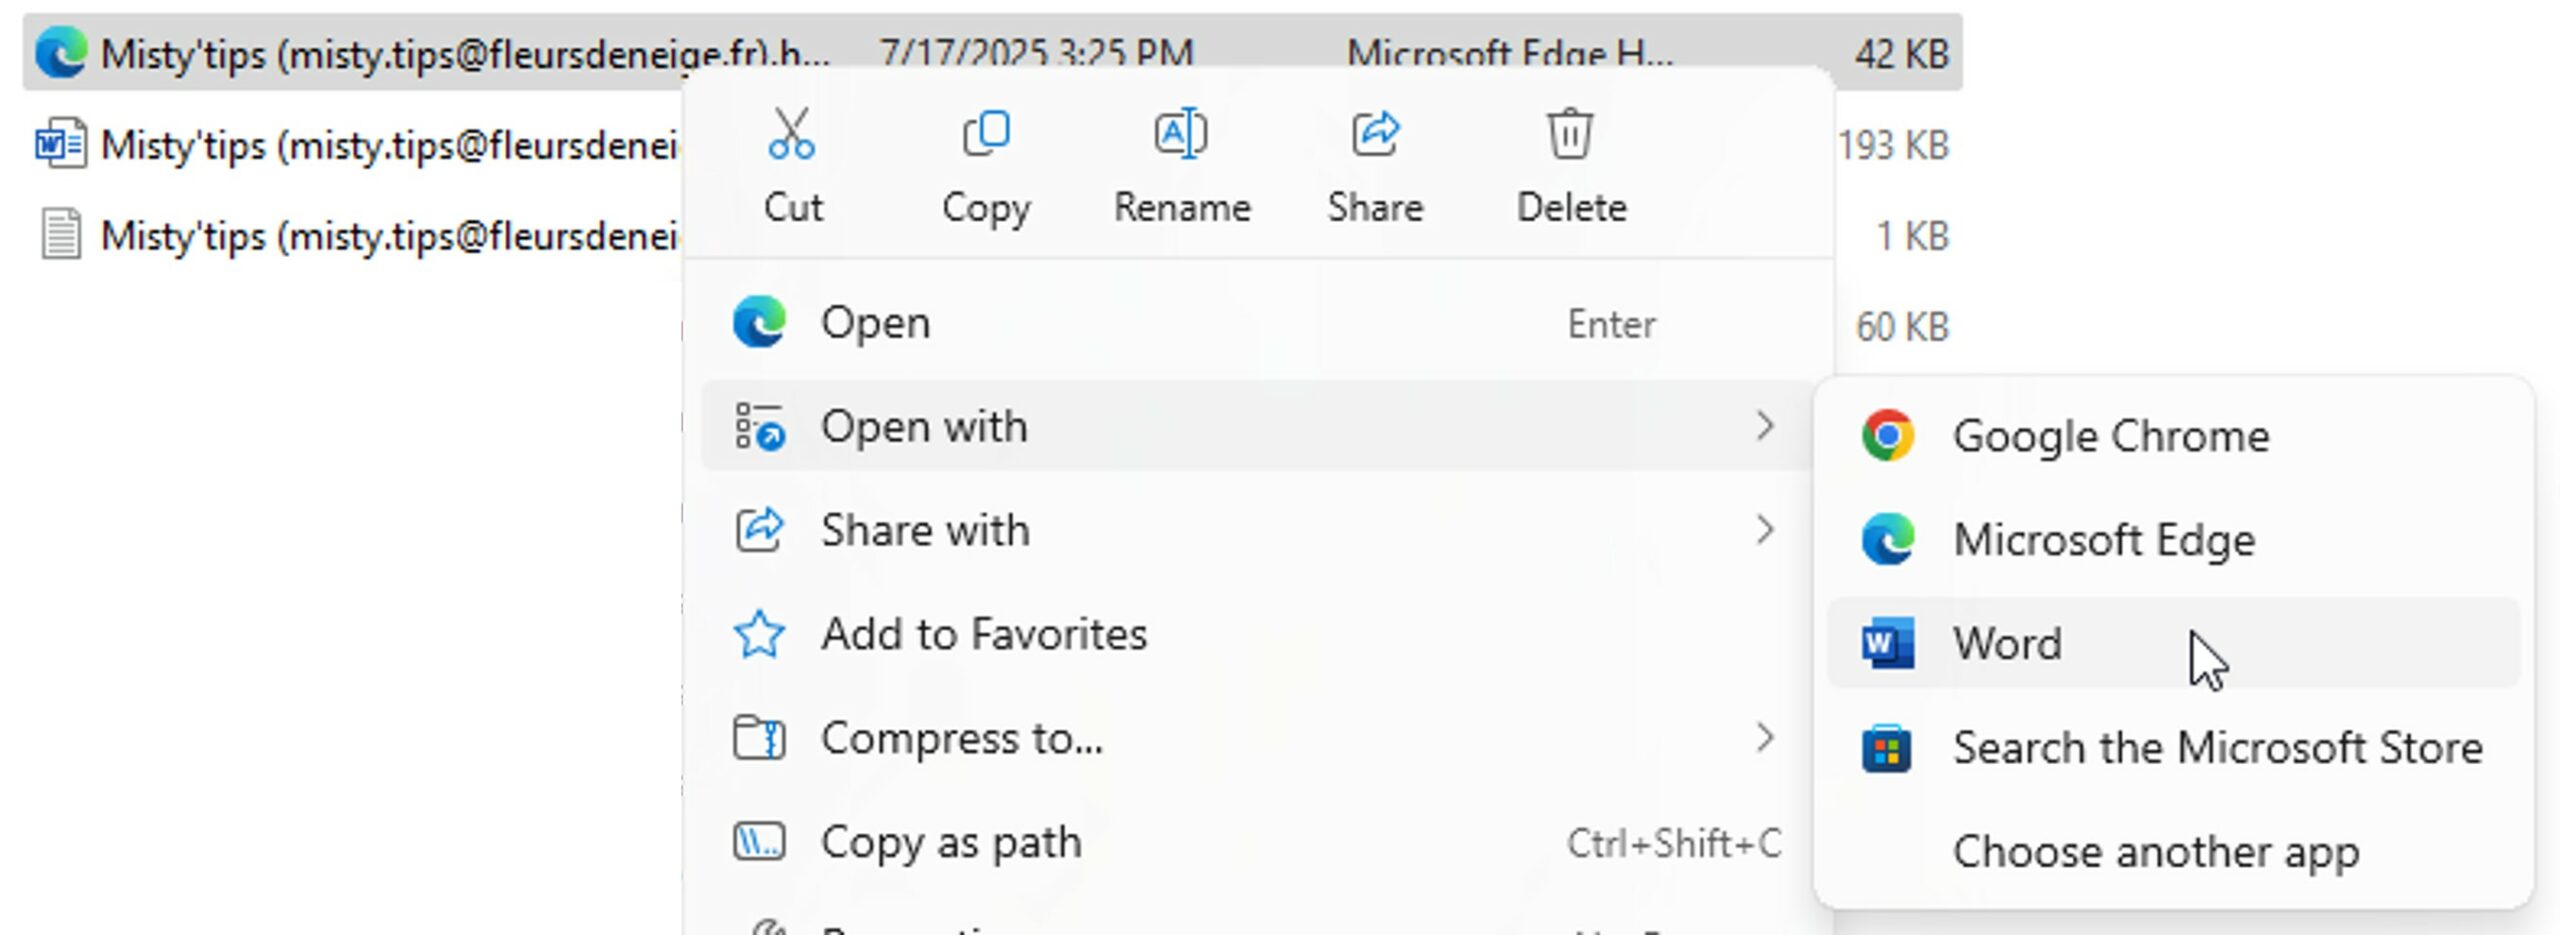
Right-click the .htm file. Choose Open with Word
Make your edits:
- Change fonts, styles, and layout
- Add hyperlinks or images
- Format spacing and alignment
Step 4: Save and Test Your New Signature
Save changes directly from Word.
Open Outlook and create a new email to preview your updated signature.


